Stop Throwing Away Juice Pulp! Do This Instead

Stop Throwing Away Juice Pulp! Do This Instead

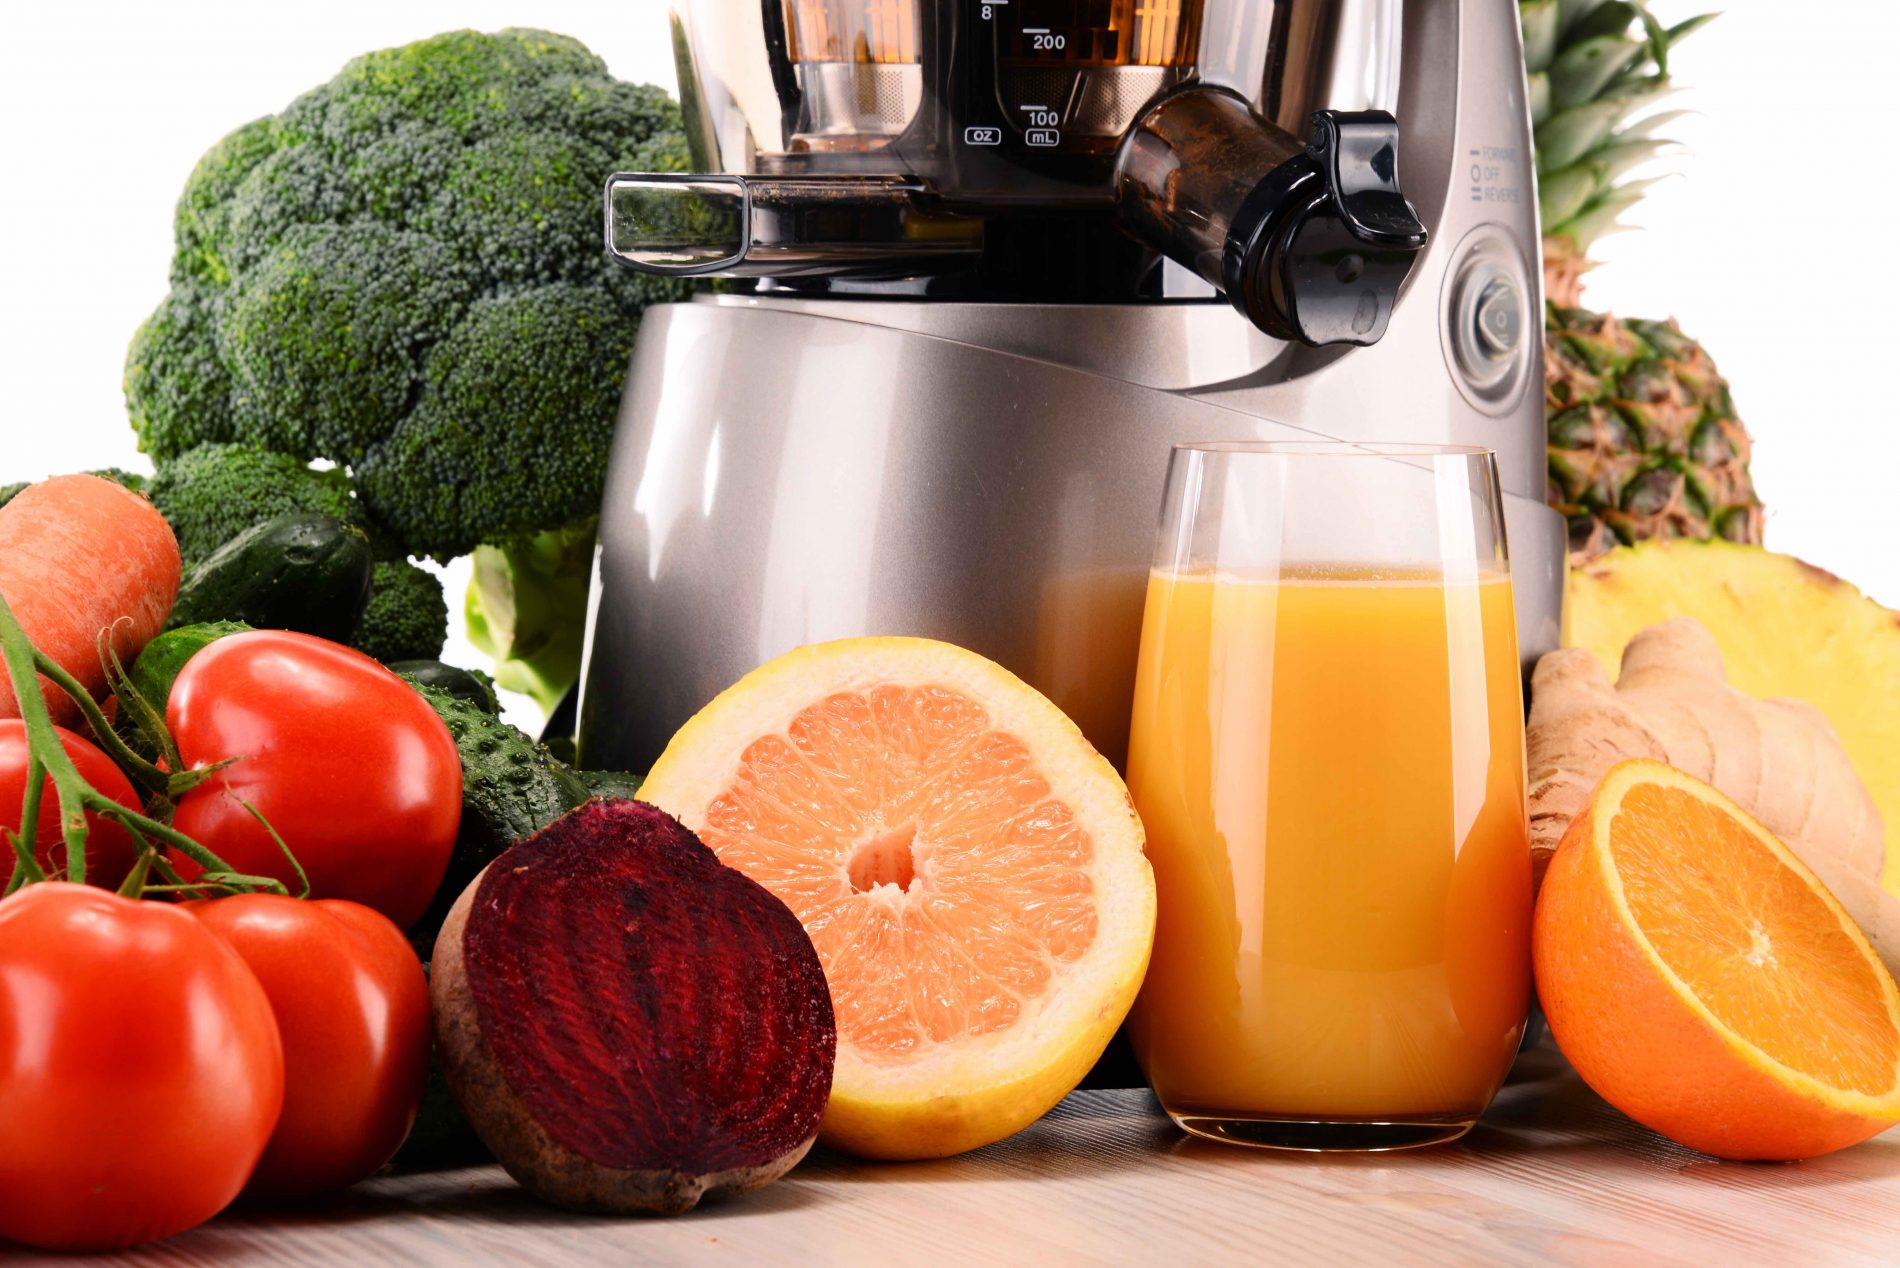
If you are anything like me when it comes to making homemade juices, it absolutely kills me to fill up my green bin and throw away the pulp leftover from juicing. It feels like I’m throwing away vegetables or fruit that still have nutritional potential, not to mention hard earned money.

The reason we want to take the pulp out of the vegetables when we are juicing is to give the digestive system a break from having to do any work, while the nutrients in the juice are absorbed directly into the bloodstream and go to work feeding our cells.

But the pulp is by no means devoid of nutritional value simply by removing the liquid from it. It has a ton of fibre and other nutrients that are not extracted during the juicing process. Use the following ideas in your own kitchen to get the full benefit of your fruits and vegetables.

Top 7 Ways to Use Juice Pulp and the Best Fruits/Vegetables to Use for Each

  1. Freeze It – Pulp can be stored in freezer bags or glass containers in the fridge or freezer for use later in any of the below ideas. If you don’t have plans of using the pulp within 48 hours then it is best to freeze it immediately.
  2. Crackers – The best pulps to use for crackers are the naturally drier pulps like celery, zucchini, carrot, and sweet potato. Crackers can be made in a dehydrator or in a low temperature oven.  Simply mix the pulp with ground flax seeds and spices and dehydrate until crackers are crunchy and dry.
  3. Soups/Stews – Pulp is great to add to soups and stews as a thickening agent and to give your meal extra fibre. The best options are carrots, celery, parsley, kale or spinach, zucchini, and sweet potatoes.
  4. Homemade burgers/veggie burgers/falafels – This might be my favourite option, because the pulp can be so easily hidden in these patties. It also adds a binding factor to keep the burgers intact as they are cooked. Try using carrot, zucchini, and celery pulp.
  5. Add to muffins – Zucchini or carrot pulp can easily be added to traditional zucchini muffins or carrot cake recipes. For healthier baking look for recipes that are lower in refined sugar, flour and lower in saturated fats.
  6. Smoothies for extra fibre – Fruit or vegetable pulp can easily be hidden in your favourite smoothie recipe. My favourites are zucchini, pineapple, apple and cucumber pulp due to their mild flavours and textures.
  7. Homemade vegetable broth – Just like you would use leftover carrots or celery and onion to make a homemade vegetable broth, do the same with leftover juice pulp. Add a variety of herbs and spices to add an extra kick of flavour to your broth and simmer on low heat. Once cool, strain broth for use. Extra broth can be frozen for use later.

So, before you throw your next batch of juice pulp in the green bin or compost pile, consider the above options to get the full benefit of your produce. 

How to Grow a Simple Organic Garden

How to Grow a Simple Organic Garden

Can you imagine heading into your backyard and picking a ripe, juicy strawberry?

What about digging in the dirt and pulling up and enjoying the sweet, explosive flavour of of a freshly dug carrot?

What if you could go into your garden and pick romaine lettuce leaves or spinach leaves and make a fresh salad?

How would this transform you life?! It sure has transformed mine. I can’t tell you the joy I have been able to experience while growing up on a large commercial produce farm. We grew strawberries, raspberries, blackberries, rhubarb, carrots, lettuce, beets, spinach, tomatoes, onions, potatoes, kale, Bok Choy, cucumbers, zucchini, Brussels sprouts, squash, pumpkins and so many more.

Now, I have a much smaller garden than when we were helping to feed our community, but my joy is still the same. My favourite thing is to go out into the garden and enjoy a freshly picked treat from my own backyard and share the bounty with friends and family.

The best part is that starting a small organic garden is SO easy! You can definitely plan to have a garden this summer and enjoy fresh produce from your very own backyard!!

Step 1:

Choose a sunny place to locate your garden. The more sun, the better! Dig off the top layer of sod and remove it or reuse it in a location that needs fresh grass. Use as much or as little space as you’d like – try to keep things rectangular or square so your planting lines will be straight. Dig the dirt up and loosen it as much as possible with your garden tools.

Step 2:

Hit your local greenhouse or garden supply store and score some compost or decomposed manure. This will add lots of nutrients to the soil so that your veggies can grow efficiently.

Step 3:

Decide which fruits and vegetables you’d like to grow. For your first season, the easiest choices to grow are:
• carrots
• lettuce
• spinach
• kale
• tomatoes (buy the plants that are already developed)
• cucumbers
• basil, dill, cilantro, etc

Step 4:

Check the seed packages for timing to plant, but it’s important to wait until you are basically clear of the risk of frost, which can damage or kill small plants that are just starting.

Follow the directions on the seed packages for depth, but dig a small (usually approximately 1”) trench to drop the seeds into and cover them up with a bit of dirt and pack it lightly. Water each row you plant and sit tight!!

Water your garden regularly and be sure to pull out any weeds. Weeds interfere with the plants’ ability to pull water from the soil, absorption or nutrients and take up room that they need to spread their roots.

But be sure that you are actually pulling out the weeds, not your plants that are too small to identify yet!

Master Tips:

• Make sure you leave enough space both between each seed for the item to grow, as well as enough room between the rows that your produce isn’t choking each other out

• Imagine how large a head of romaine lettuce gets – so leave a few inches between the seeds if you want the lettuce to have room to form full heads. Otherwise you will just have a lot of leaves growing every which-way because they don’t have enough space. (either way, it’s still delicious! And if one of the seeds doesn’t come up, you haven’t wasted a lot of space in the row)

• Cucumber plants spread for several feet, so plant them toward the edges of your garden and train their plants to spread out onto the grass. Just move them before the lawn mower drives by!

• Imagine the size of carrots and leave an inch of room in between seeds to they have room to grow and develop. Same for beets, radishes, onions, etc.

• Tomato plants can grow quite large and also need some sort of support system to stake them up so they don’t fall over. Even an old broom handle can be driven into the dirt and you can tie up the plants with old panty hose – it’s soft and won’t damage the tomato branches

I hope your garden brings you as much joy as it does for me! It’s also a great way for children to learn where their food comes from, how it grows and how to take care of it. It is such a great survival tool that they can use for their entire lives.